Posted on

Cowboy Coffee is as easy as 4-3-2-1!

So guys, over in the shop we have a great wood burning stove that keeps us warm in the winter and BONUS – doubles as an old school coffee maker! As I sipped on my coffee last week, I thought maybe I could share our process in case it was something you’d like to try at home.

The great thing about cowboy coffee is there is no fiddling with any coffee filters, k-cups or fancy smancy espresso machines… Just a great cup of coffee the way the pioneers made it!

Now before we begin, it’s important to note that this process takes a more than 1 minute to brew. I know some of us don’t have time for that, but I think it’s important to remember that great things sometimes take time. With that said, here is how we do it!

  • First, take a nice big pot and fill it with 3 cups of water.
  • Place the pot on your stove (or over a fire – no electricity required).
  • Next, add 2 tablespoons of your favorite finely ground blend of coffee directly to the pot of water.
  • Let the pot start to boil. Once it is rolling, let it boil about 4 minutes.
  • Next, remove the pot from heat and let it sit for a couple minutes and then pour a little bit of cold water down the spout and into your pot. This helps the grounds sink to the bottom of the pot, allowing you to pour a cup of coffee without any grounds in it.
  • Lastly, pour yourself 1 great cup of Joe! It’s fantastic!!!
Posted on

My 3 Favorite Leather Stamps

I wanted to take a break and highlight my MOST USED STAMPS. These are stamps I use on almost every tooling project. I’m going to list these in the order of WHEN I use them.

Again, complete transparency – these links are affiliate links. So if you buy a tool with these links, we get some money back which helps us to continue creating leather crafting articles and videos for you! Ok, Here we go!

#3 – The Bevel Stamp

So we’ve cased (wet) our leather and carved the outline of our design with the swivel knife. The very net thing I pick up is the Bevel stamp tool. I use this to basically turn my drawing from 2D to 3D. We follow on the outer edges of our design to essentially press down the leather around it, and this in turn lifts or makes our design appear to be 3 dimensional. In technical jargon, it makes the pattern stand out in ‘relief’ – or simply embossed. However you spell it, it sure looks dang cool!

#2 – Seeder Stamp

This stamp is called a seeder because it allows you to add plant/flower seeds to your design. For instance, if you have a pattern with vines, maybe one of your vines will have a pod with seeds in there. Or, the inside of your flower could have seeds on the head. It looks really neat when you incorporate different sizes too. The seeder stamp comes in a variety of shapes and assortments. From one ‘seed’ to many groped together.

#1 – Background Stamp

The background stamp tool is usually the tool I use to ‘finish’ my piece. It creates a background to give your design a professional and artistic finish. There are many different styles but this is one of the first ones I used. You are basically smashing down large areas, so you can highlight your design. Similar to the bevel tool above, only this is flat and used to cover a lot of area, not just the edge of your design.

The cool thing with any stamp is that you may find other uses for it. For instance, if you turn the bevel stamp sideways, you can create designs in your patters. You can also take your background stamp and make a cool flower with the tear drop shape it has. You have to think outside the box and don’t be afraid to try something crazy – who knows, you might start a trend!

Posted on

The Top 10 Essential Tools for Leather Workers and Crafters!

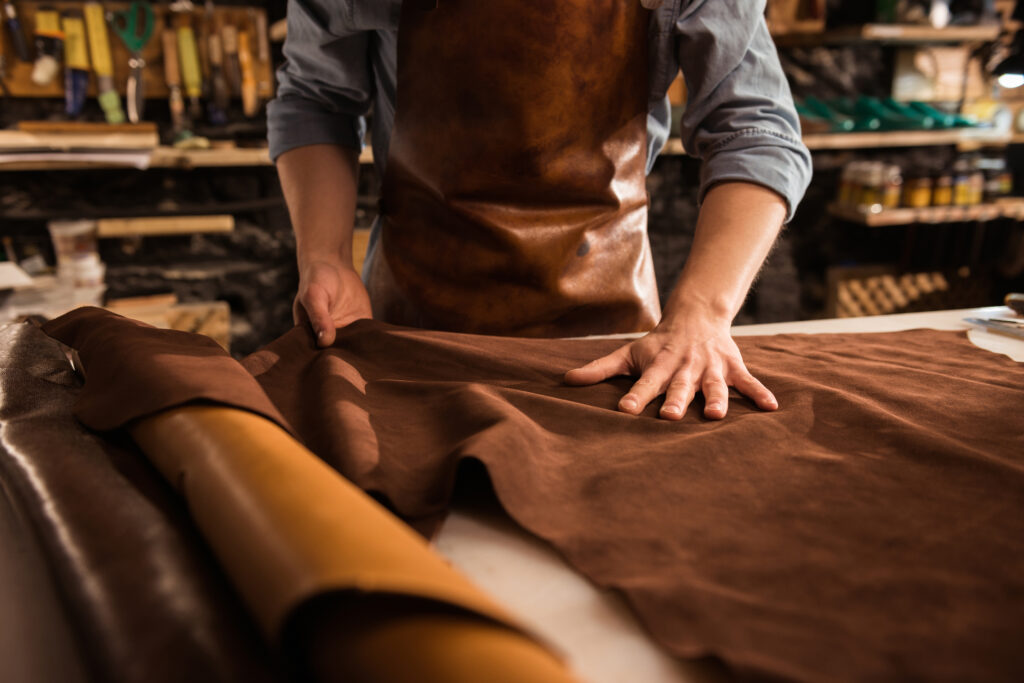
Looking to try your hand at leather crafting? It’s so rewarding! Here is a list of what I believe to be the top 10 tools of the trade. These “MUST HAVE” tools will ensure you get started on the right foot!

Complete transparency!!! – The links to the products below are called ‘affiliate links.’ That means if you do decide to buy one of the tools below, we get some money back to help support our passion/mission 😉 Thank you!!!

#10 – Leather Rotary Hole Punch Tool

Every craftsman needs a good hole punch tool. This will help you with punching holes for rivets and snaps as well as for punching holes in belts and watch bands. They typically come with a handful of different size punches. I’ve used a generic one for years and even though it is inexpensive, it has held up to many projects!

#9 – Edge Beveler

In order to make your project look professional, you’ll want to pick up an edge beveler. This tool allows you to slightly round or ‘bevel’ the edges of the leather, making for a nice, clean finish. This will also help you when burnishing the edges which we’ll talk about below.

#8 – The Utility Knife

When I first start a project, I usually have a design traced out on cardboard so that I have a template for future reference. You will trace around this template and cut out your pattern with a good utility knife. There are many to choose from, but the knife below is similar to the one I use. You can also look at a rounded knife which may work for better – it just depends on your particular project and leather size.
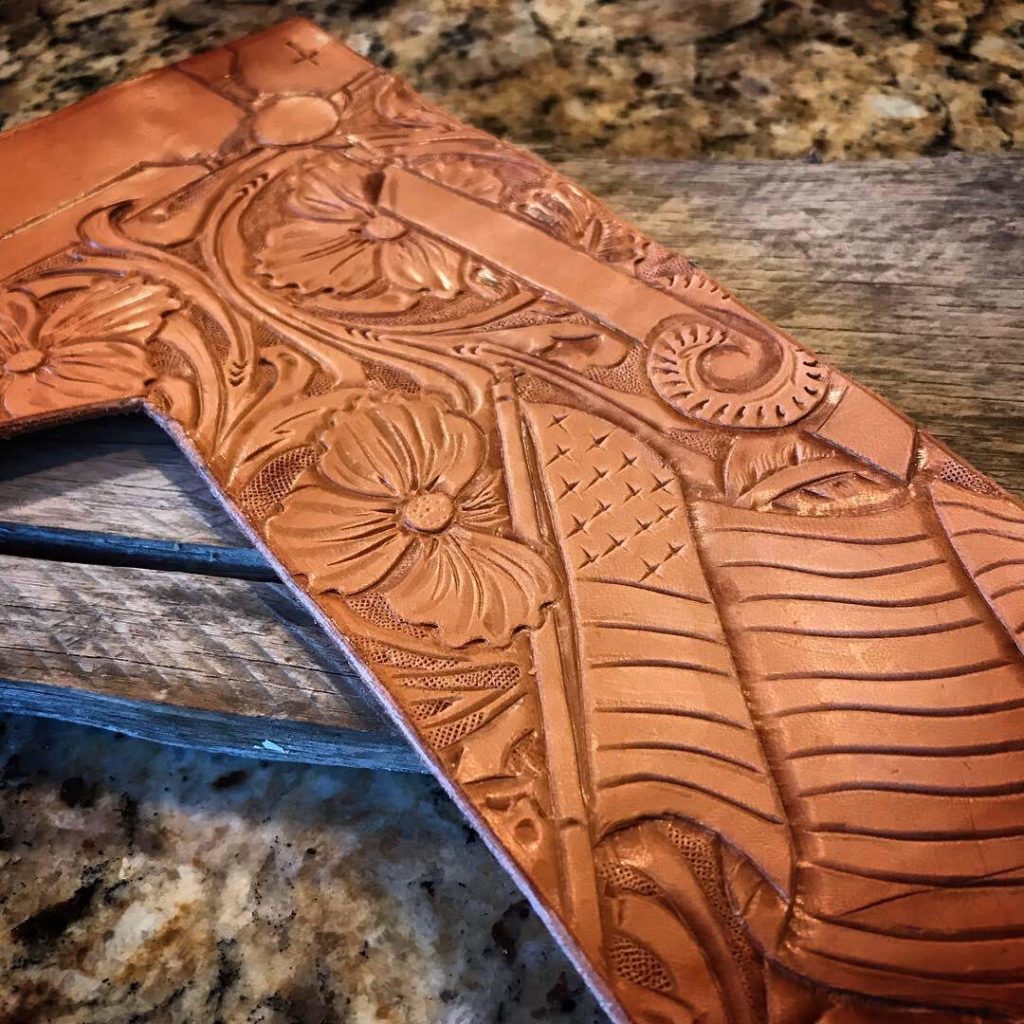
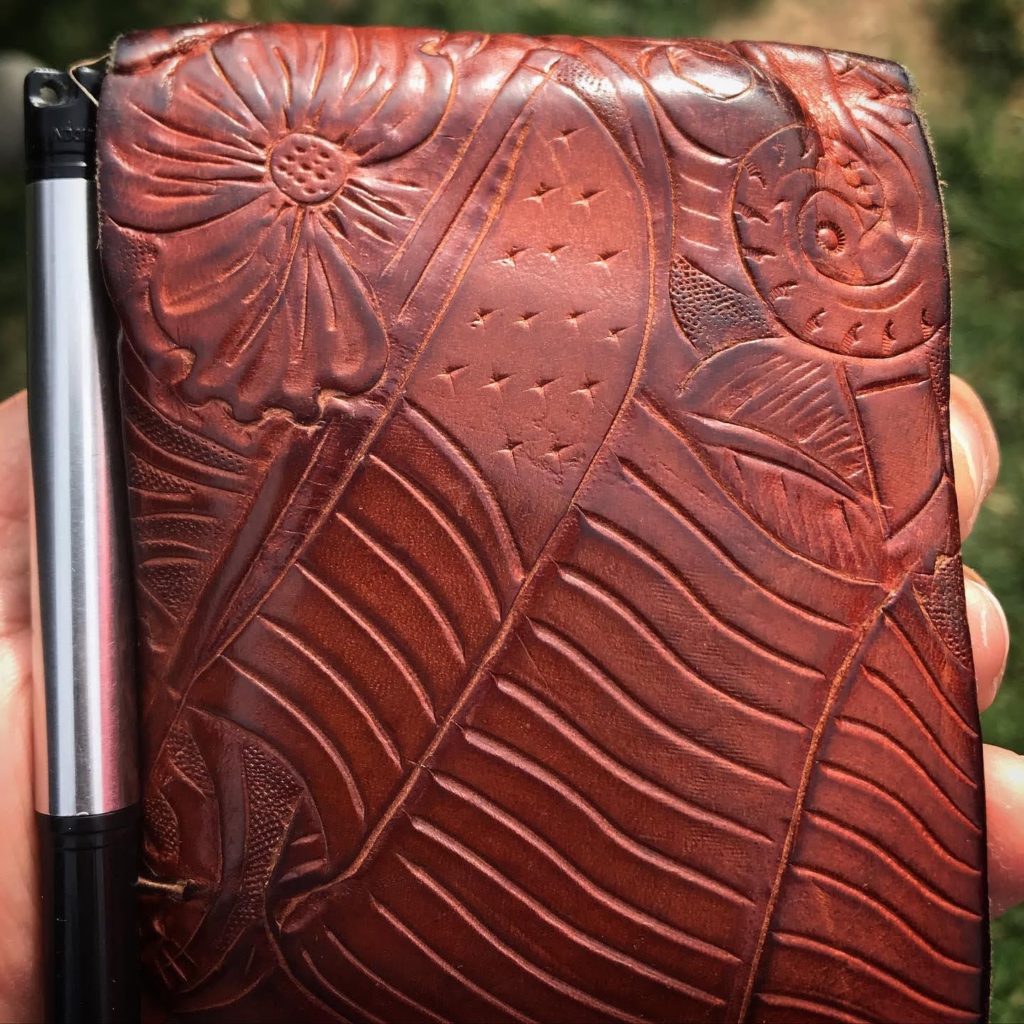
#7 – Swivel Knife

When you have a piece of leather cut to size and want to start tooling a design, you will want to look at a special knife called a ‘swivel’ knife. It is called a swivel knife because you can actually maneuver (swivel) the blade with your fingers to cut wavy lines and circles. It takes a little bit of practice, but once you get the hang of it, you won’t want to carve without it!

#6 – Stamps

So this is where you can get many opinions and many prices! There are background stamps, pear shading stamps, bevel tools, basket stamps – basically any stamp you can think of. I have found that you want to buy the quality stamps, starting with Craftool and progressing up through the pro grade tools like those offered from Barry King. Cheap stamps aren’t always effective at leaving a good impression – literally. In this regard, you get what you pay for.

Here is a link to a bunch of stamps on Amazon. But here is the stamp I use for every project. It is a beveler to make the design 3 dimensional.

#5 – Rawhide Mallet

When you are ready to start banging away on your leather, you’ll need a good quality mallet. For years I used a rawhide mallet and they work great! It is a good and inexpensive way to get started and as you progress, you may find you are ready to upgrade to a poly mallet with a little more weight in the head. But if you are just starting out, you can definitely save some money and get something like what is listed below. I still have this on my bench!

#4 – Stitch Groover

When you finish tooling your design, you will ultimately want to look at assembling your piece. The best way to do that is with rivets or thread. When you want to stitch your project, you will love having a stitch groover in your toolbox. This allows you to trace a straight line on the edge of your leather, basically where you will stitch the pieces together. I use a leather cement from fiebings to assist with holding the edges together, and then I use the stitch groover to give me a guide on where to punch my holes. I’ll explain more when I mention the stitching forks below.!

#3 – Stitching Forks

Once you have a guide made from the stitch groover, it’s time to punch some holes for your needle and thread. THe best way to do this is with stitching forks that punch multiple holes at once. Here is an assortment of great forks that you’ll want to get!

#2 – Wood Burnisher

So the cool thing about a burnisher, is that you can use almost anything. I’ve use plastics, woods, canvas, cloths, heck even my fingers. Basically what you are trying to do is generate HEAT on leather that is slightly damp or lubed with something like a saddle soap or beeswax. When you rub hard enough, the heat will seal and make your edges shine. One of the best tools for this is a simple wood burnisher that will allow for different angles and sizes of your leather. Again, my go to many times at the very end of a project, is to use an old canvas rag to burnish the final piece.

#1 – Where to put it all!

The last ‘tool’ on my list is not really a tool but a place to store your tools! It helps when you have your stamps upright so you can quickly see what design you are looking for. This is a simple wooden storage tray the compactly stores many of the items you might need as you start leather crafting.

So not an exhaustive list by any means. Really this is just the tip of the iceberg. The farther you go with this, the more tools you may find that you need.

Maybe you are making tack and saddlery, or you find you are always making belts – if that is the case, there are many tools designed specifically to make your job easier. The good news is, 99% of this doesn’t need electricity or the internet! Just a passion to create the way our ancestors did thousands of years ago!

Thanks for reading and GodSpeed!!!

Posted on

Become Like Little Children

baby chickens

We incubated eggs on Ash Wednesday and guess what, 21 days later – they hatched! I mean, I read the articles, and watched the videos, yet somehow, I still thought it was a long shot. Sure enough, with the proper heat and moisture, nature ‘finds a way.’

It was the first time we tried to use an incubator and we had a few hiccups (Dad’s fault), but in the end it worked! What struck me was how amazing the process was. We watched the birth of these babies, emerging from a dot (bloodspot for those chicken people out there) in the egg in a mere 21 days. My younger kids were freaking out! It was a miracle!!! And indeed it was! And yet, the older kids, seemed uninterested. Why?

Why do we lose our sense of awe and wonder? Are we so distracted by the empty promises of the ‘world’, that we lose sight of the amazing things happening right in front of us. Things that, when we were a kid, would have left a memory for the rest of our lives. We see people we know take trips, buy beautiful things, share their experiences in movies and pictures – and we want this. But we miss so much of what God is bringing to us, because we want the same perceived status offered with these material possessions.

We may even recognize the pleasure ‘things’ offer is fleeting, yet we still pursue this path. I am the worst offender for sure! “This or that family did this so maybe we should be doing this?” Are we going to be perceived as bad parents if we don’t offer the same opportunities to our kids? Um, No.

My spiritual director reminded me that what our kids need most is us, present to them. They don’t need things or experiences happening in some theme park. They want us! They want us to stop what we are doing and look at them. And not with your right eye as your left eye stays on your phone. And above all ‘delight’ in them (Thanks for the advice Sr. Maria)!

So as I reflected on the four baby chicks in the cardboard box (one died – which is a beautiful lesson in and of itself for my little ones), I realized that even if none of my kids have ever been on an airplane (trust me, I’m reminded by them often so I can’t forget…), I did provide them a beautiful experience. They watched life, precious even in the lesser form of a chicken, come to our home. They held and cared for each chick and tried to help the one that was suffering. We didn’t have to go through security, fight any crowds or pay any extravagant amounts of money. And you know what, they will remember it (even without the scent of funnel cake in the air). There eyes were smiling and mine were tearing up. They showed me how to love something other than themselves. So we don’t have fun hats with mouse ears on them, but I think this was the better investment. Not that a trip like that is bad – we hope to be able to do this someday! But right now, their hearts are full and it is available to all of us.

So if you are inspired to try this at home – a word of caution. It may not stop with chickens. My son asked if we can get a rabbit next… “Um, ask mommy.”

Posted on

An Artists View

It happened, all of a sudden as I was staring at the back of this horses ass…

Let me explain 😉

This weekend I came across a sculpture of a knight on a horse. It was awesome! I stared at it with my girls, just admiring the brilliance of it. Created by Loi Vo, this has to be seen in person to be appreciated.

As I looked at the details, I found myself in Loi’s shoes, staring at the different angles and wondering why he made certain creative choices. I was behind the horse, looking at it’s… uh hum, ‘haunches’ and it hit me – do other people do this?

The perspectives he chose were right on in my humble opinion. I know as an artist, you make certain choices and leave hidden assumptions that some people might not grasp. This fills me with the desire to want to understand how it was done, and next, how to create it!

The same goes for flowers, trees, leaves, bugs, rocks – heck you name it! Which ultimately leads me to raising my thoughts toward Heaven and God our Heavenly Father. His design is in everything! He made perfect creative choices for how things must look. How they need to work and flow. How these beautiful elements complement one another, all for His Glory.

Diving into this world and this perspective is AWESOME! And yet, I feel sadness at how many of us miss these subtle, hidden creative choices God made in His Creation.

Looking back at myself, staring at this horse, I realized the hallways were buzzing with many people – but nobody else stopped to look. The sculpture was at the end of the hallway, by itself, with nobody to admire it. Maybe it was because it had some sharp edges which could hurt some curious child, or the sight of some weirdo, staring at the backside of a horse…

Either way, as an artist, I ‘get’ why Loi created this the way he did. And for God and His creation, I grasp a little bit more why He created it. It was out of Love. And like Loi, and so many artists, He had to create it. We are only fulfilled when we can share what is inside of us. We need to create, almost more than we need to eat or breathe…

God Created His world and shared it with us. It tells a story of Love and who He is. The least we can do is stop and look critically at it.

And if we get caught looking respectfully at an ass or two, well, tell them it’s out of admiration – for the beauty of the design. I would think most would understand – but be ready for the slap across the face 😉

A 'bumper crop of bumpers' | News | journalstar.com
Loi Vo – Sculptor
Posted on

A Servants Perspective

I’m an acolyte at our church and thought maybe I could write down a few things for non-Catholics on what that means – specifically to me. First, what is an acolyte?

The official definition from britannica.com, states:

…”in the Roman Catholic church, a person is installed in a ministry in order to assist the deacon and priest in liturgical celebrations, especially the eucharistic liturgy.”

The Catechism of the Catholic Church states:

Paragraph:

903 Lay people who possess the required qualities can be admitted permanently to the ministries of lector and acolyte. 436 When the necessity of the Church warrants it and when ministers are lacking, lay persons, even if they are not lectors or acolytes, can also supply for certain of their offices, namely, to exercise the ministry of the word, to preside over liturgical prayers, to confer Baptism, and to distribute Holy Communion in accord with the prescriptions of law.” 437CatholicCulture.org

So in layman’s terms, acolytes can assist during the Catholic Mass as well as help distribute the Eucharist (Jesus – Body, Blood, Soul and Divinity) to those who can’t attend The Holy Mass.

I find my role a huge Blessing, and like most Acolytes I know, don’t feel worthy to be given such a gift or responsibility. I’m a sinner, and personally am uncomfortable on the Altar in front of a crowd. But there are many times when ‘think’ I hear the Holy Spirit and thought I’d share my experiences from the ‘Best seat in the House’ – next to the Altar during the Sacrifice of the Holy Mass.

I imagine this to be an ongoing reflection, being most helpful for those who need something underwhelming to help them fall asleep at night ;-), but I will start with one story from this morning.

As the priest, the altar servers and I left the Mass and went back to the Sacristy (place where we all essentially get ready for Mass), a little girl looked at me with a big smile and waved. I thought, maybe I remind her of Jesus (I have long hair and a beard). Then I heard the Holy Spirit say, ‘You just received Jesus in the Eucharist – she sees Him IN you.’ I thought, Is it impossible for God to change His appearance in my body and appear to her as Himself? -Nope. I don’t believe she saw me – she saw Our Lord walking with us. That or maybe she was trying to tell me I had food stuck in my beard… Eh, I’m hopeful it was the former.

Posted on

It’s a work of ‘Heart’

As an artist, I want everything I work on to leave my hands looking as good as I can make it. To me, your gifts are all works of art – or should I say works of Heart 😉 I will spend my time looking at your project from different angles, making sure I did my best to make it as close to perfect as I can – remembering of course, only God is perfect!

Hand Stitching vs. Machine Stitching

Over the years, I’ve found that machine stitching generally doesn’t look as good as a hand sewn piece. Because of that, our pieces take longer to build. We dedicate time and attention to each and every stitch. We aren’t competing against the large manufacturing companies, churning out hundreds of identical pieces. Each one of our items is slightly different than the last.

“Handmade” has become a lost art, a word that sounds good on paper, but doesn’t make sense if you want to try and “make a living.” Well, we are doing just that. Creating one of a kind pieces, with our own bare hands. No electricity, no special software, no internet – just working as a craftsman might have worked hundreds of years ago. In the end, you’ll have something that will last many years, be something I myself either carry or would recommend, and have taken several hours to make. Once I am happy with it, I will offer the item up to God and send it your way 😉

Posted on

Saint Joseph School Pilgrimage

Students asking questions

We were Blessed to have the 3rd and 4th graders from Saint Josephs school out to the shop recently. They were on a pilgrimage during this Year of Saint Joseph and we decided to teach them how to make keychains. And who knew, 90 kids running around with hammers turned out to be a good thing – and miraculously there was no blood 😉

Here are some pictures of the event!

Posted on

The Rez

breastplate project

After graduating from college, I found myself stuck in a job making cold calls trying to sell advertising. I quickly realized this was NOT what I had in mind for the next 50 years of my life.

Everyday was a bit of a punch in the face. My ‘happy place’ was drawing and I studied art all the way up through college. But like so many other stifled creatives, I was told you can’t make any money ‘doing’ Art.

Well, after trying to conform to the masses, wearing a suit and tie in the real world, I came to the conclusion that I’d rather starve than die a slow death in a cubicle. That’s when the Holy Spirit took the wheel.

I visited with a good friend who told me about a Jesuit Priest who had just returned from Mission work on the Pine Ridge Indian Reservation. I spoke with him and immediately felt the Holy Spirit nudging me to follow Him.

Follow Him, to the middle of where? To nowhere, that’s where… I mean the closest Walmart was over an hour away. At least that’s how I gauged my reality at the time. The nearest bar on the other hand was within walking distance – the infamous White Clay. Selling over 3 million cans of beer to a ‘dry’ (i.e. alcohol was forbidden) reservation. “Where did you want me to go again?” – I felt a bit like Jonah…

Yet, unable to shake the pull, I quit my job and moved to ‘The Rez.’ I spent 2 years teaching art to middle school students at Red Cloud Indian School. Or I should say they taught me 😉

The kids there were so inspirational and artistic. Many of them coming from horrible environments, yet so full of Hope. I learned a great deal about life and God while I lived with the Native Americans, and would recommend it to anyone looking for the true meaning of life. A life in service to others.

I’m squirming as I write this because I am NOT a good person and am in no way deserving of any ‘good thoughts’ from you, the reader, about my character. I am very broken but know THIS is what filled my soul and I’m confident this type of mission would fill yours too! It just takes a leap – sometimes a Big Leap.

This letting go of what I thought was the Way, was what actually opened my eyes to the Truth. Because of this, I try to honor my friends in Pine Ridge, by incorporating some of their design into my work. Also, 10% of all profits are donated back to the kids at Red Cloud and the Holy Rosary Mission. 

Even if you don’t ever buy a single product from me, I encourage you to learn more about Holy Rosary Mission and the beautiful people who live there. There is even an art center (The Heritage Center) where you can buy hand made goods from families living on the reservation. Please support them and pray for them.

Thank you for reading a little bit about my journey and may God Bless you abundantly!!!