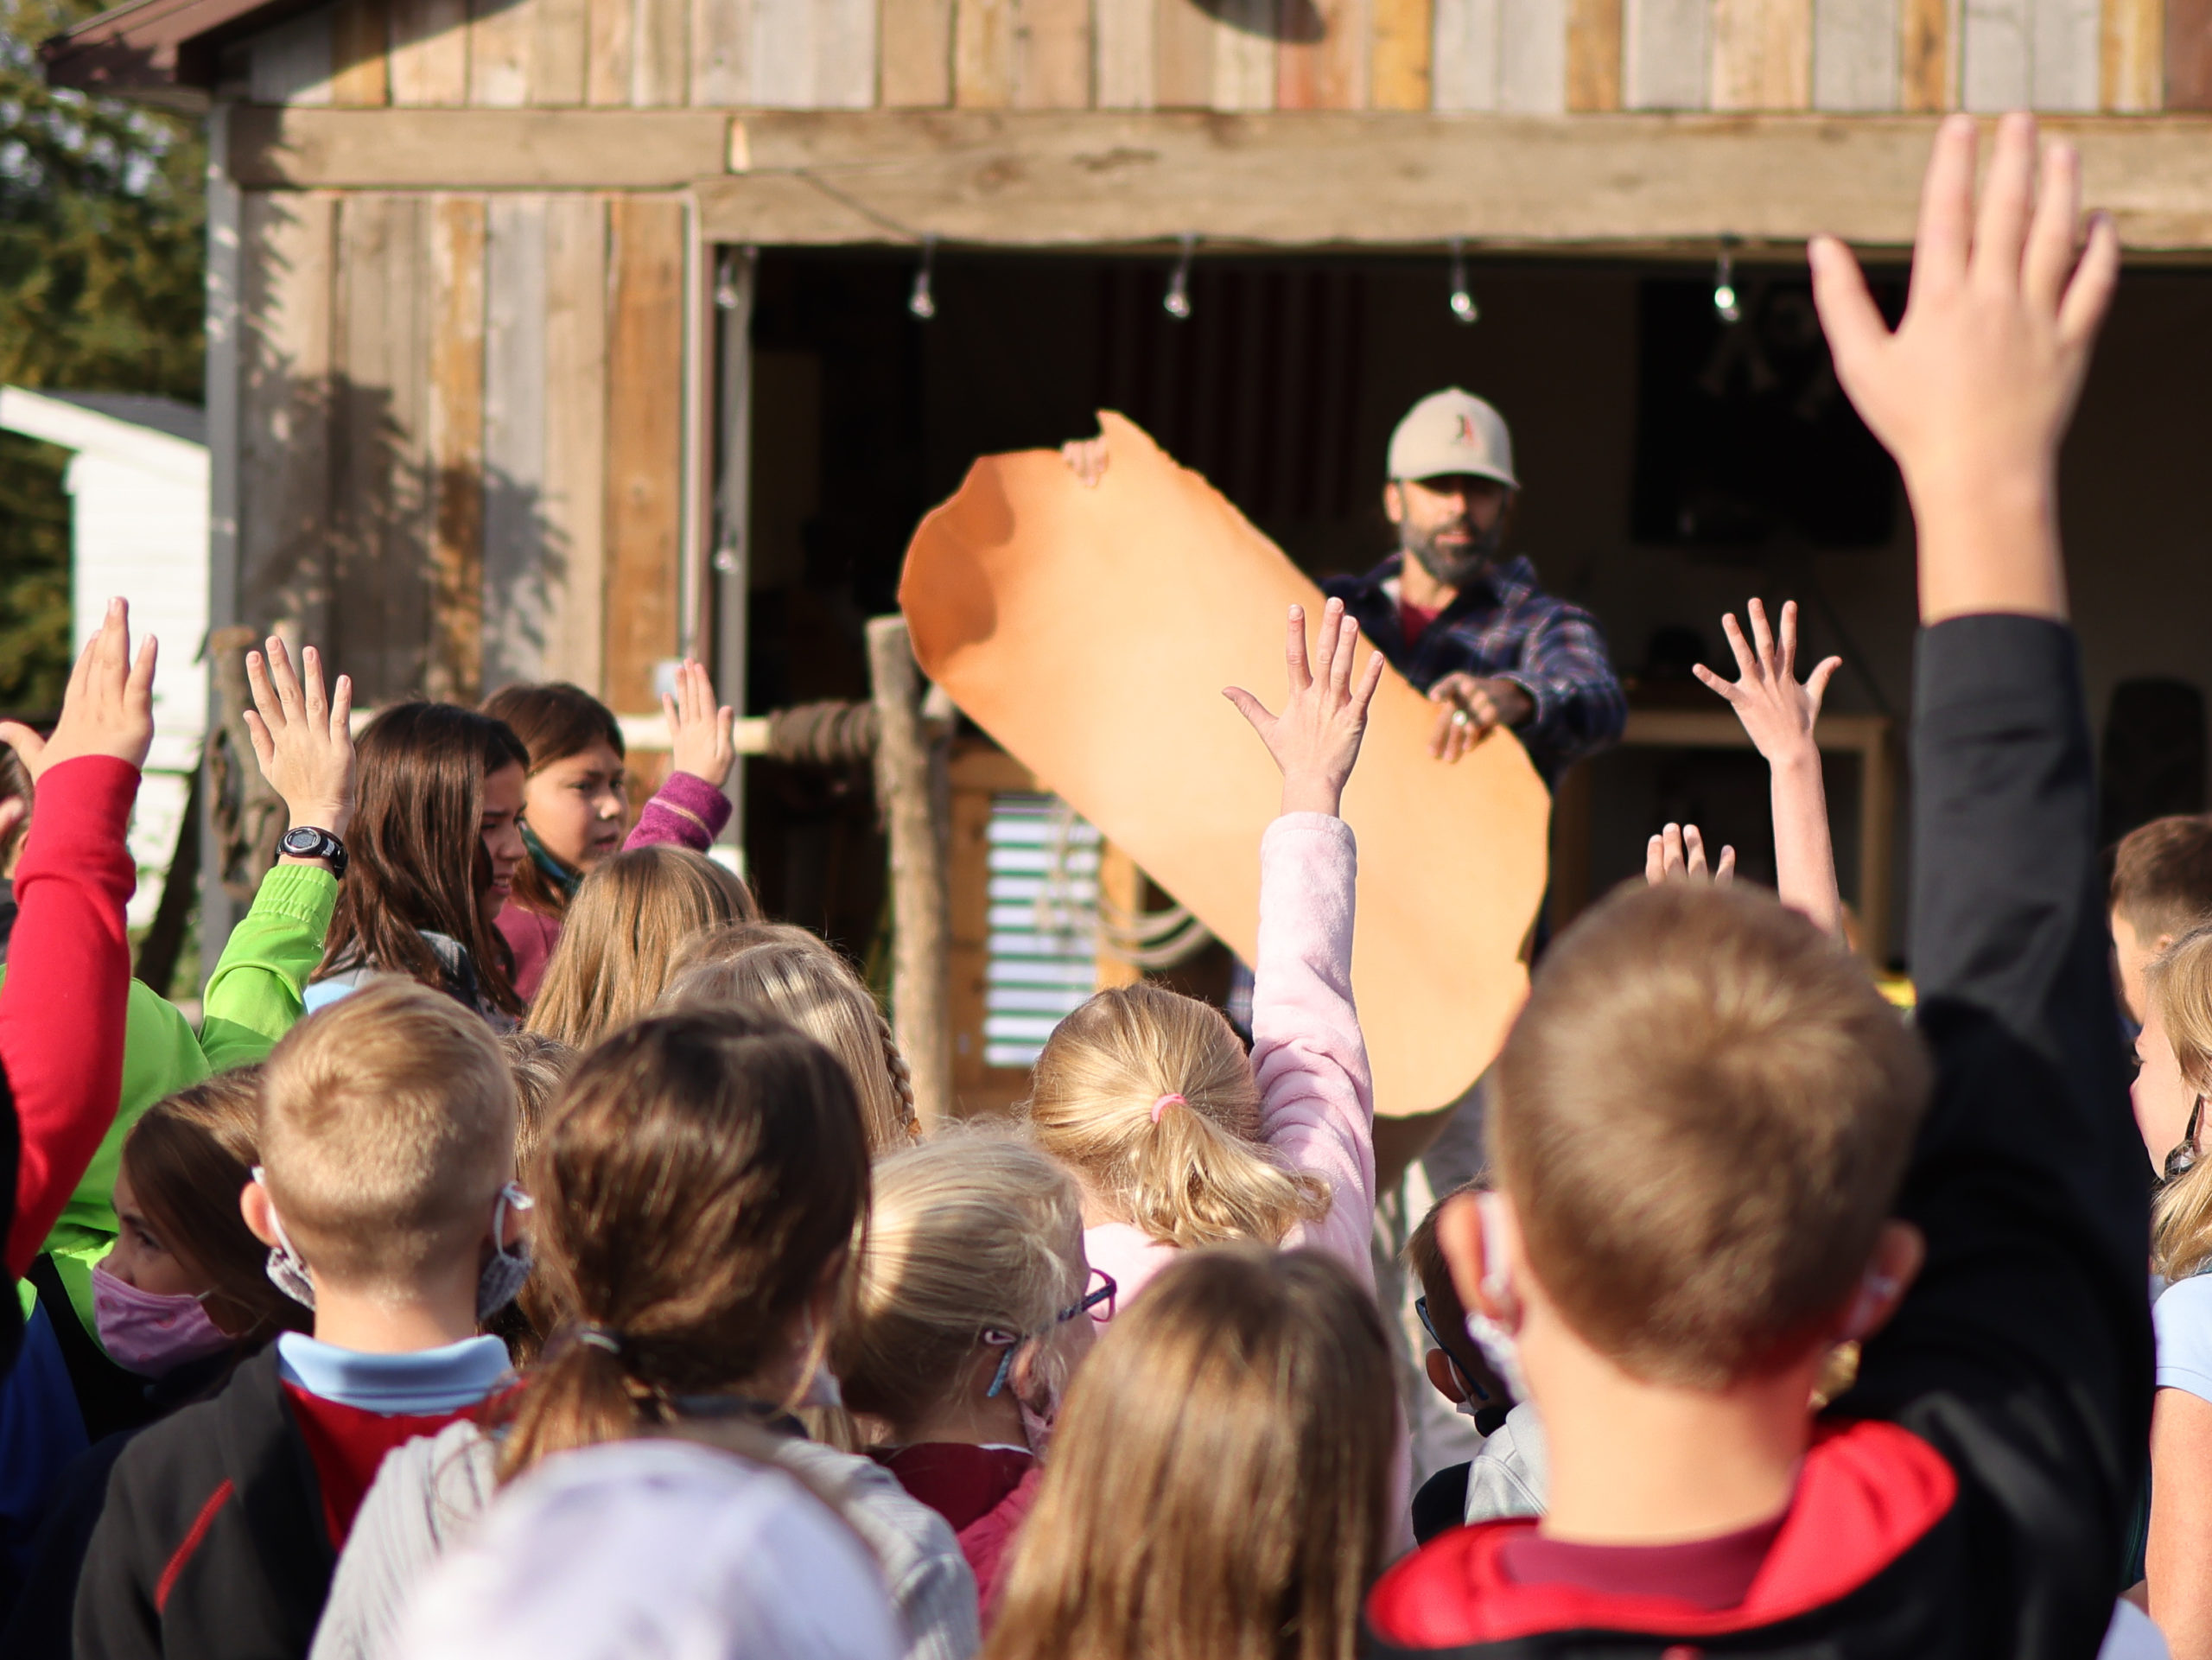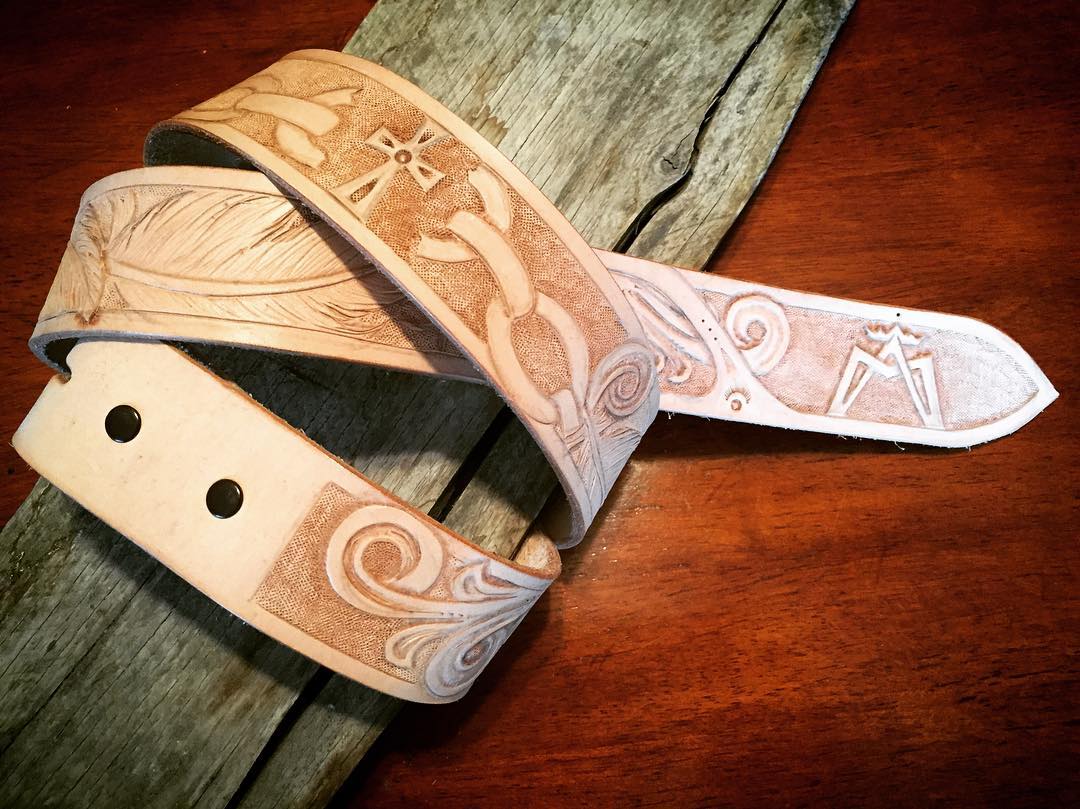
Hi everyone! I decided to write this article to help answer your questions about the tools and materials I use when carving leather. The list below contains the main items I use to create my projects.
If you’d like to learn more or purchase an item, you can click on each image which uses our affiliate code. The price is the same, it just helps us out if you do decide to purchase 🙂
Where to Begin?
There are many great company’s that offer tools and leather for your projects. I’ve had the best luck with Tandy Leather Inc., Weaver Leather Co., and Springfield Leather Co.
These company’s sell everything you need to get started: leather hides, sewing machines, tools, buckles, dyes, kits and rivets/snaps to name just a few.
If you can visit a store in person, that’s always the best, but not a deal breaker. Shopping in person allows you to actually get your hands on the leather and pick the perfect hide.
Essential Tools
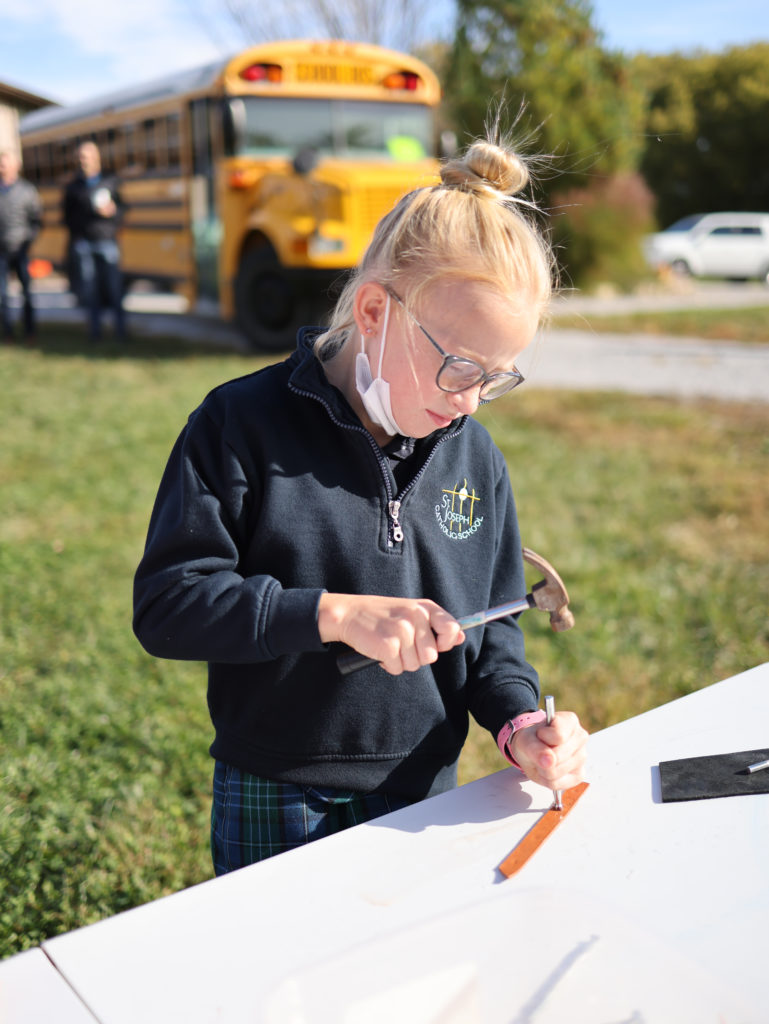
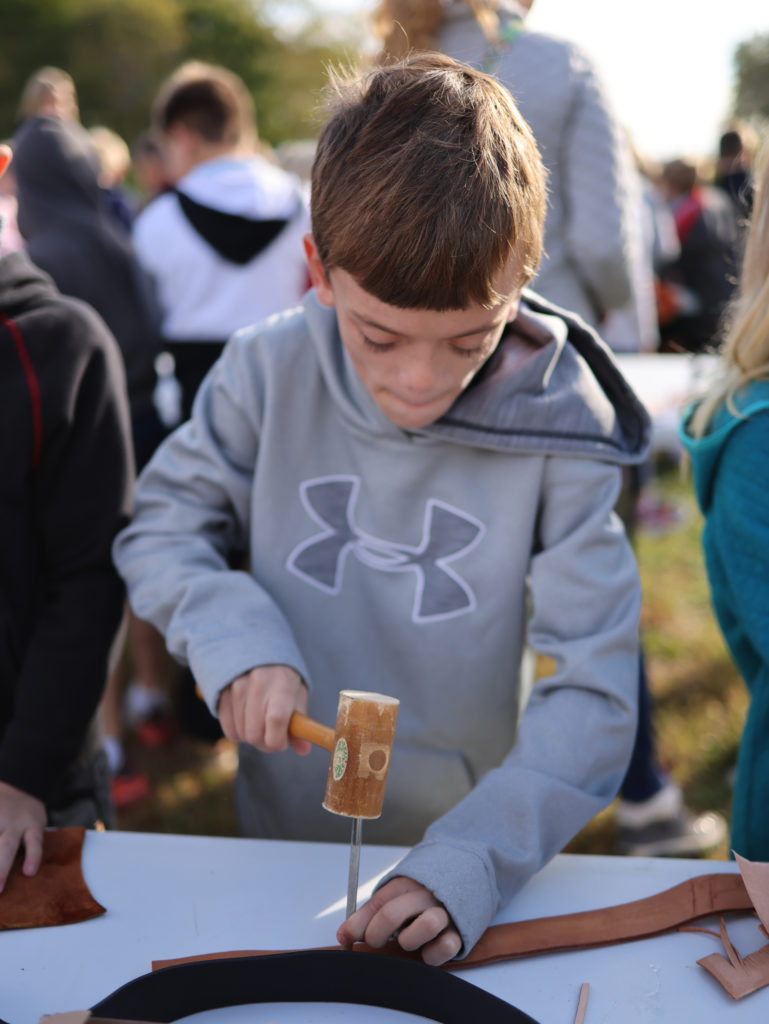
After you’ve chosen your leather, it’s time to start hammering! I was taught to find a good, sturdy surface on which to lay your project. One of the best things you can use, is a piece of kitchen countertop from a local countertop company. Many times they have pieces in their dumpsters from recent projects that you can have for FREE. These are heavy and strong and are perfect for this kind of work. It never hurts to ask!
In any case, find a good surface that won’t vibrate when you start pounding and won’t move around while you are carving your designs. Then get yourself some tools!
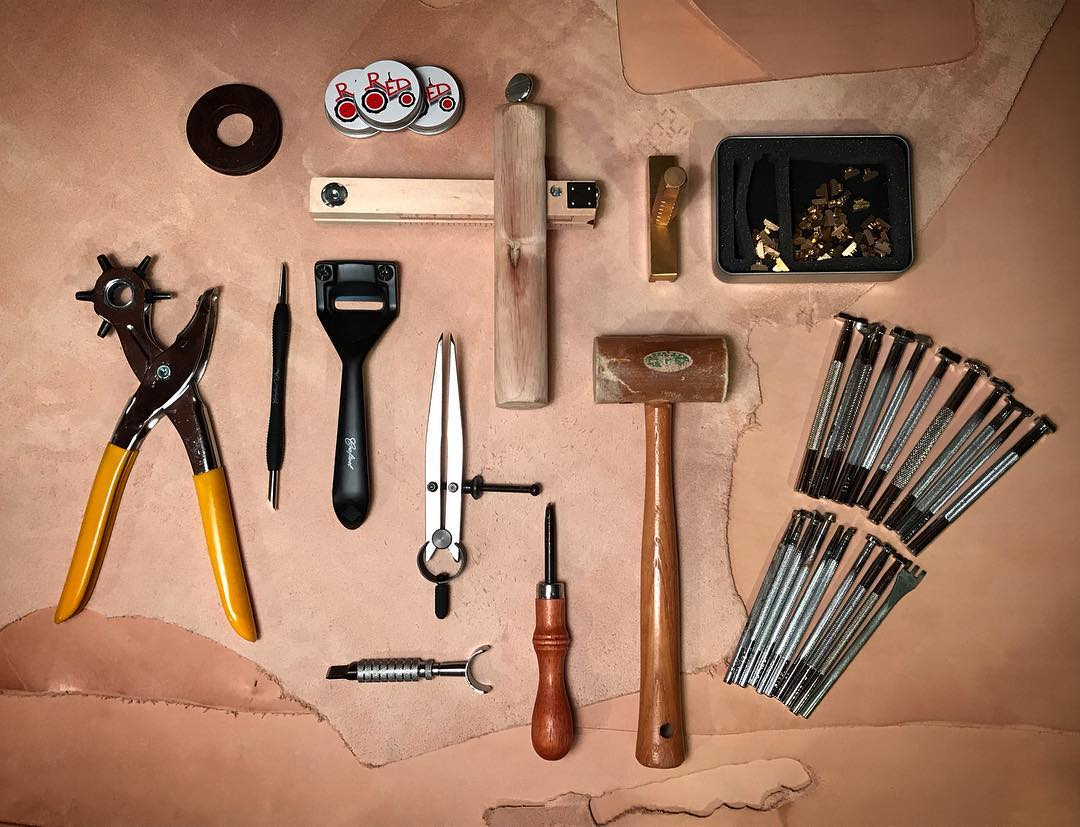
The List
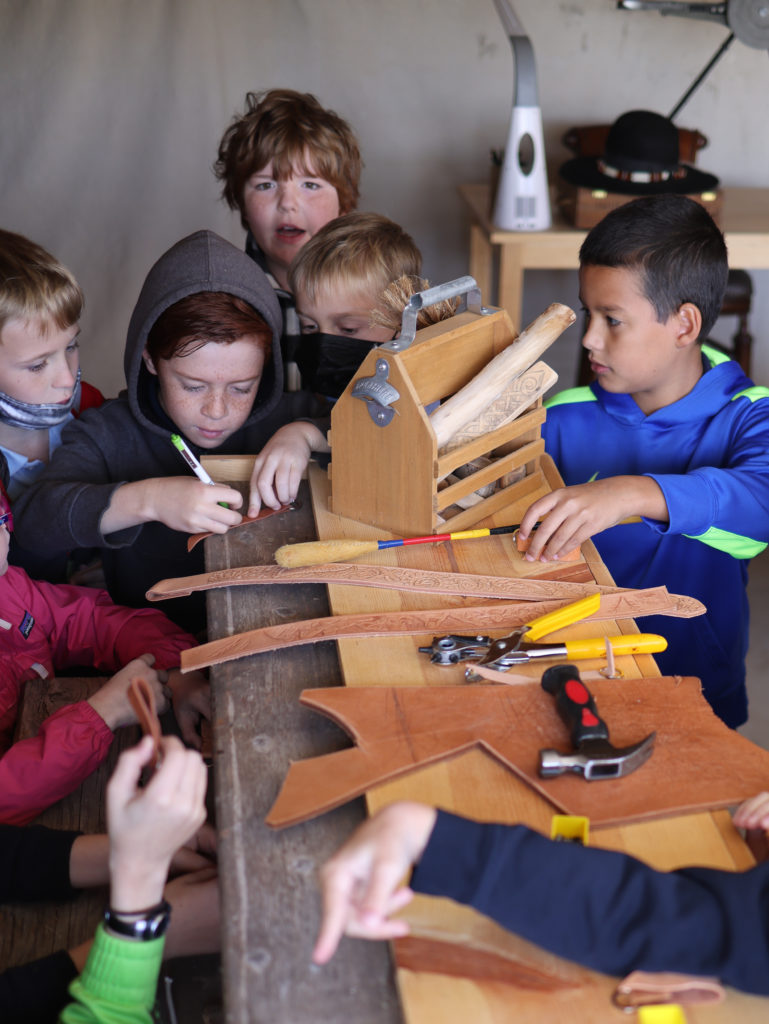
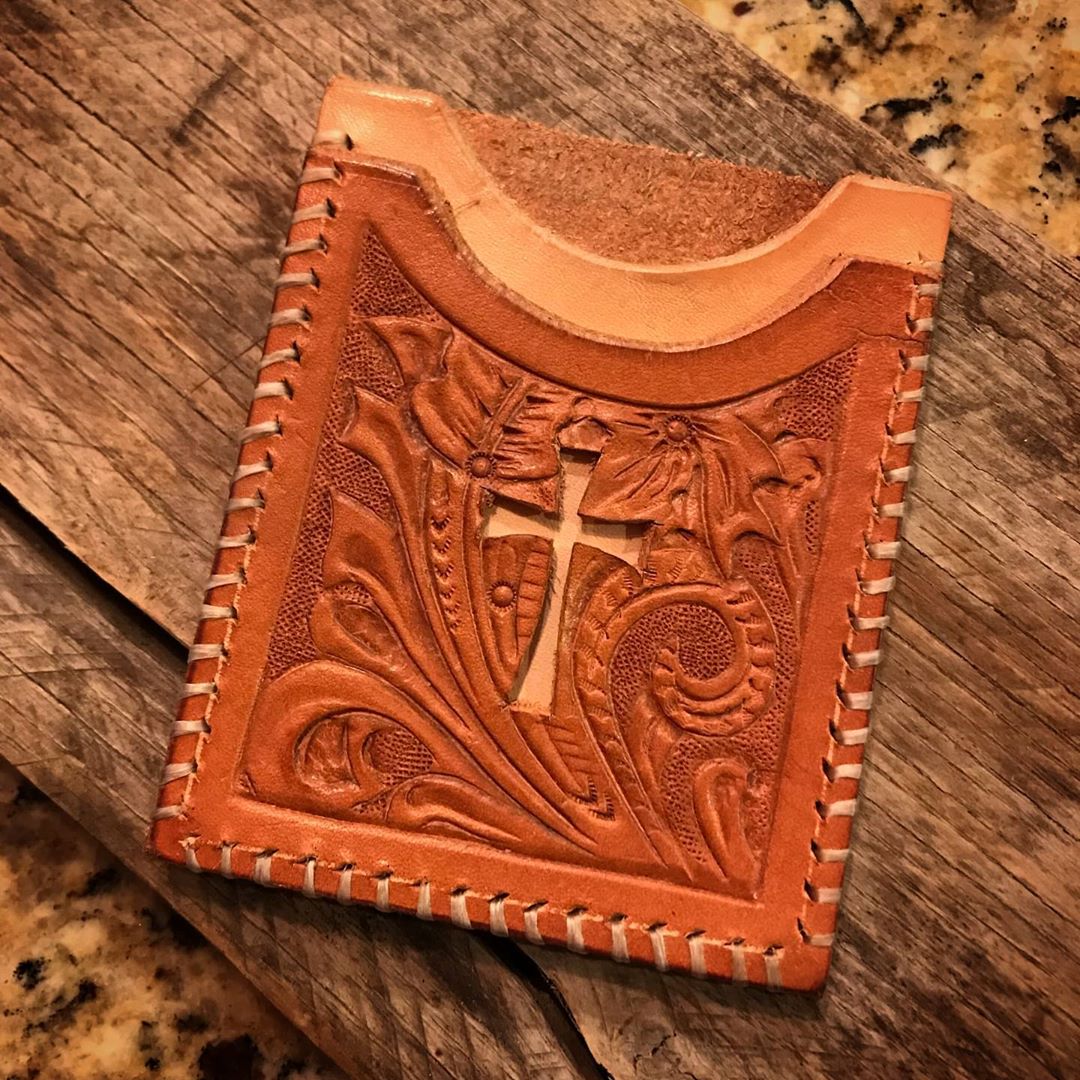
The first tool to get is a good swivel knife. This is the tool you will need to carve your designs into the leather. You’ll also need Jewelers rouge. This is used to help keep your knife sharp. You can get a strop below or make one yourself from an old piece of leather.
Once you’ve picked out your knife, you’ll need to get a mallet. There are a few different kinds I’ve used. Start with a cheaper wooden or rawhide mallet first, and then work your way up to a poly mallet if you can afford it.
Next you’ll want to get some leather stamps. You can find these all over (ebay, Amazon, Hobby Lobby, etc.), but I’d recommend you spend a little money if you can afford it and get something decent. You can definitely tell the difference when using something like a Barry King stamp, which is what the pro’s use, versus what you can get elsewhere. Don’t spend the money on the pro tools yet, but just remember there IS a difference.
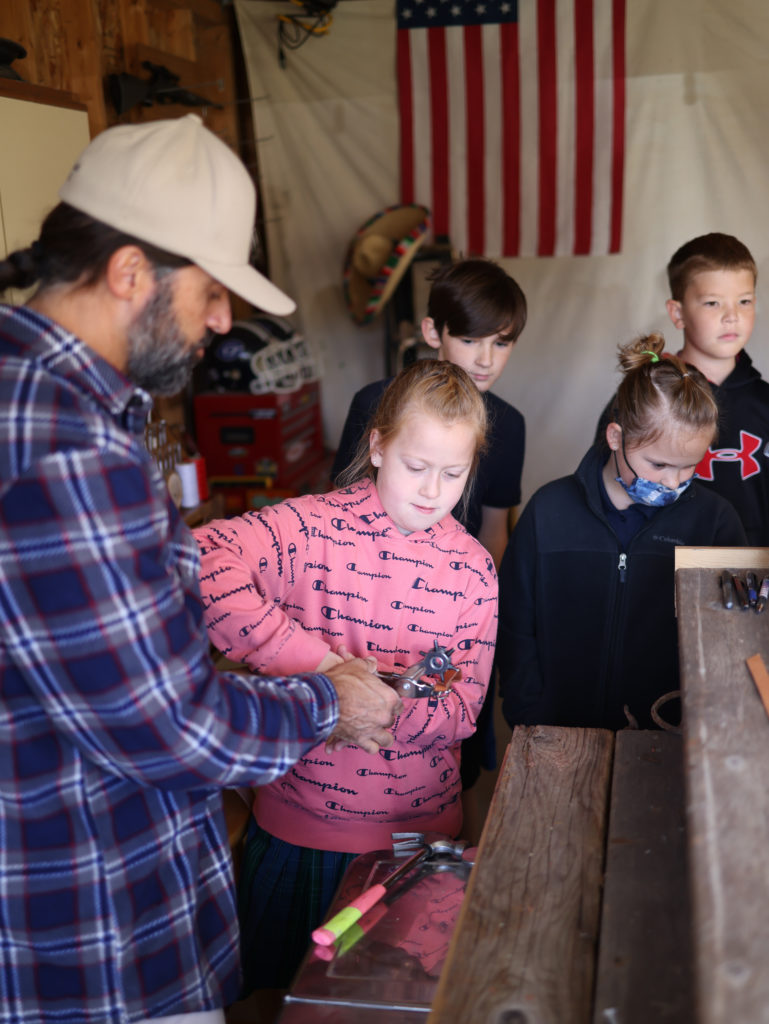
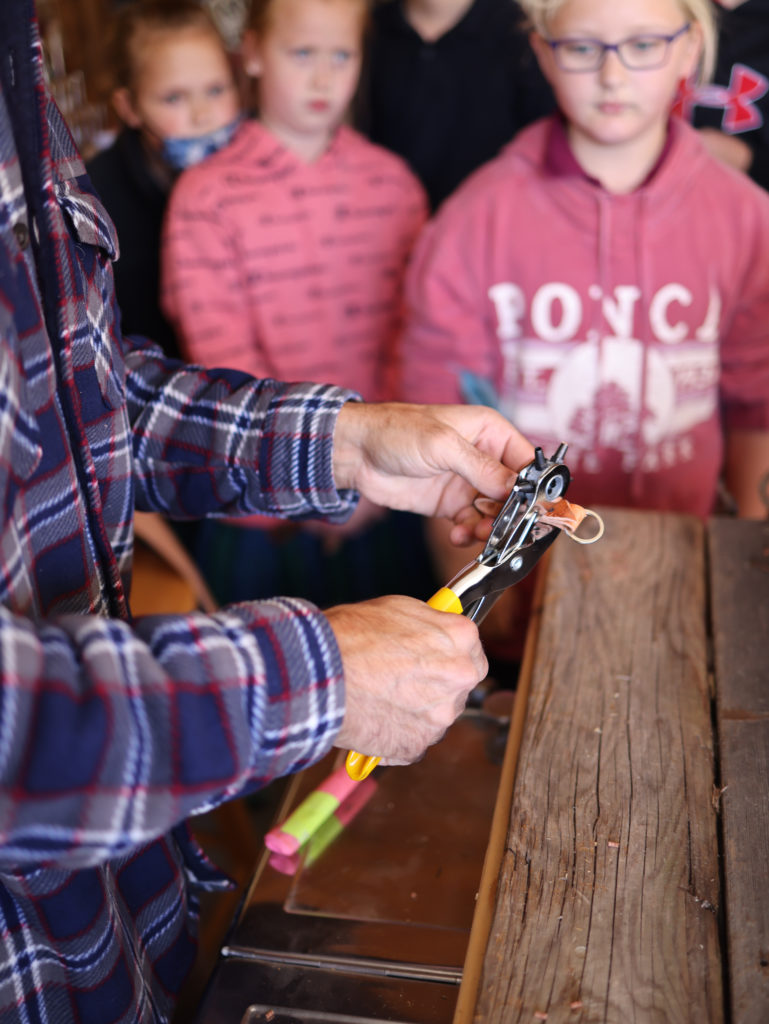
You’ll want to get some rivets and snaps too so you can secure wallets, keychains, etc. These are high quality snaps which come in a variety of sizes and finishes. You can even get some cool rivets that look like the end of shell casings!
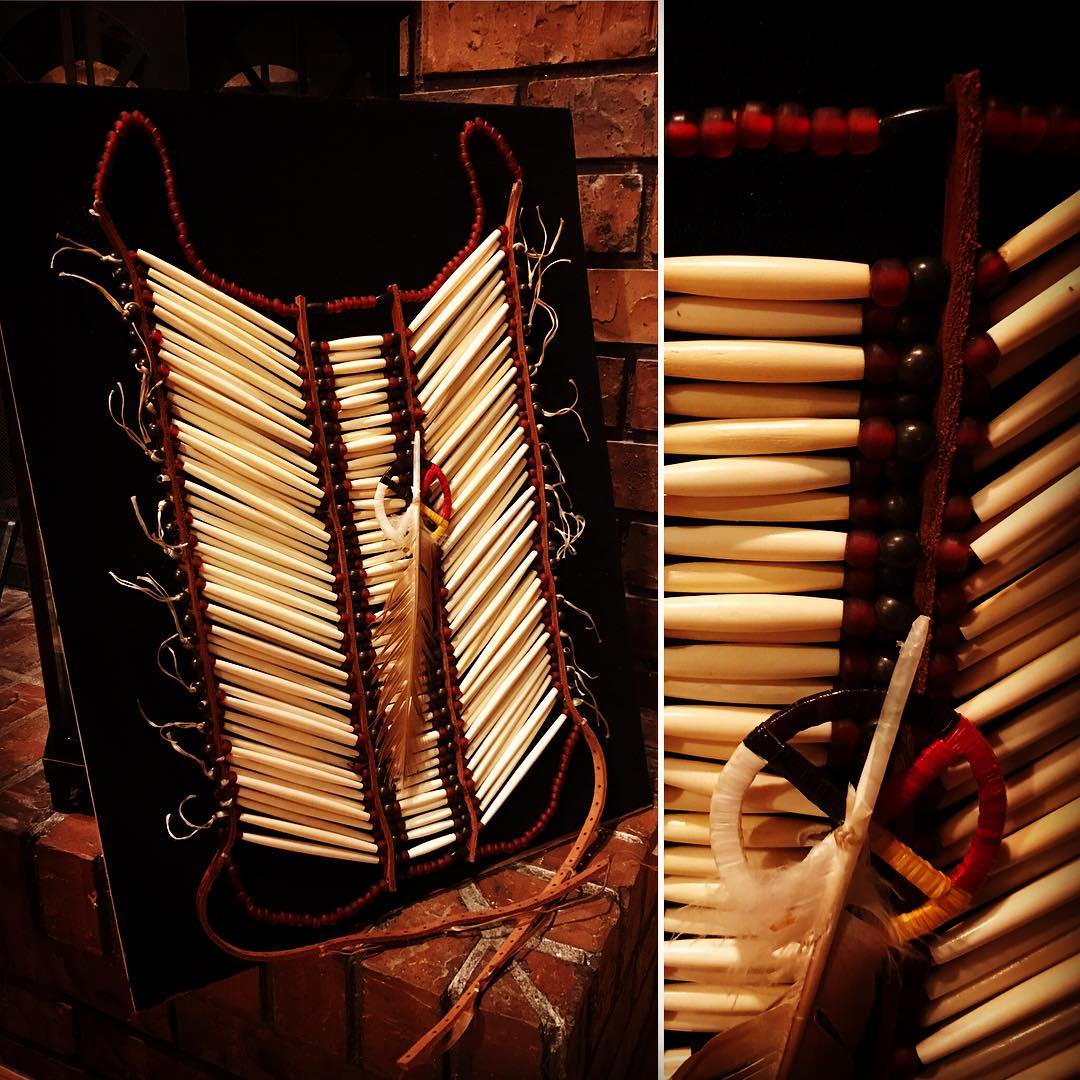
If you are hand stitching your items, you’ll need to pick up some of these. They aren’t expensive and help you to punch your holes in a straight line. I like to stitch my pieces using artificial sinew. Sinew is a natural material that comes from animals and was used by Native Americans to make essential items. Another tool I use to help give me a guideline for my stitching, or any stamping I might do, are wing dividers. These are a must have for your toolkit!
I’m including a handful of items I use when assembling and finishing a project. This includes Leather cement, which is essential as it holds leather ends together so you can stitch or punch holes for rivets.
I will also use various dyes depending on the look I am going for. I either make my own dye from walnuts or use Fiebing’s Pro Dyes. It’s important to use Tan Kote after dyeing a project as this provides a waterproof layer to your project. So the color won’t rub off on your wife’s new jeans…
One thing you can do when just starting out, is to buy a template/kit for a purse or wallet. These are pretty inexpensive, and include a good piece of leather, with holes already punched and everything else you need to assemble your piece. Plus, you can trace the pattern so you can use it again!
So I hope some of the information above is helpful! These are just some of the tools I use and I encourage you to visit your local stores to see what they have on hand. A lot of times the folks working there are leather workers too and can answer your questions or give you ideas.
And also look on craigslist or ebay! You can find used tools there that are still in great shape. I will keep adding to this list as I find tools I think would be useful for you!